A little guide to watercolour paper
To my great joy, creativity is spreading within the family. After diagnosing the illness of painting on simple print paper however, I realised that it’s high time to give some in-depth info on materials. I mean more in-depth than the blog post sharing 9 essential art supplies. This series started with a fairly detailed guide to paintbrushes, and today I’m sharing all I know about paper. The motto for today is: forget simple print paper!!!
Why is paper important?
For a moment, imagine that you live a few hundred years ago, and work in the studio of a great master, mixing paints. What kind of grimace would appear on your face if the great master tried to use your carefully prepared paint on thin print paper? Exactly! For oils, canvas will act as the best surface. For every medium there is a right surface, which it was designed for. It matters which kind of paper you use for coal, colour pencils, or in our case, watercolour.
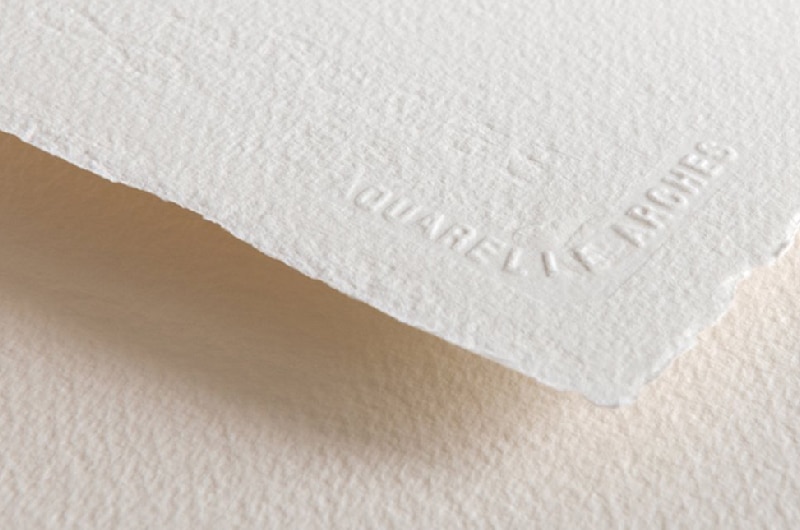
As we work with water, watercolour paper has to absorb a lot more water than simple print paper, so the ingredients of watercolour paper are quite different. While simple print paper is made of wood-pulp, watercolor paper is made of cotton-pulp, which does not only help absorb water, but is also naturally acid-free, which prevents the paper from discolouration.
‘Student’ and ‘Professional’ papers differ in quality, just like in the case of paints. Professional quality watercolor paper is usually handmade or mold-made, both giving similar quality results. Student quality is usually machine-made, cheaper and lower in quality – nevertheless they are still good for practicing.
Paper weight
There are several things to consider when choosing watercolor paper, and one of them is weight, which is usually measured in gramms per square meter (gsm). Just so you get the idea: normal print paper is 80 gsm. Among watercolor papers you can find light ones (140-300 gsm) and heavey ones (above 300 gsm). The latter is a bit harder to come by, but it’s worth knowing that you can find watercolor paper as heavy as 850 gsm. Despite all common belief, weight and quality do not necessarily come together, a light-weight paper can also be excellent quality, it is simply used for different purposes and requires different preparation. Lighter weight papers are usually cheaper, but they need stretching. It is generally worth buying as heavy papers as your budget allows.
Why watercolor paper needs stretching and how to do it?
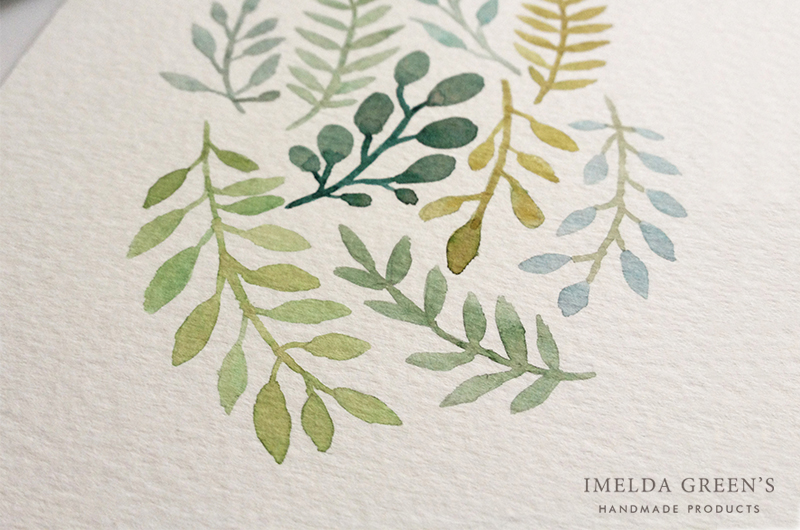
When watercolor paper gets wet, the fibers swell. Since you only apply water on one side of the paper during painting, only one side swells, which makes the paper buckle. This might or might not disappear after drying, but the problem is greater during the painting process: pigments will gather in the little pools of water instead of the intended places.
Therefore, you should apply a generous amount water on both sides of the paper before stretching. You can use a sponge or a paint roll, but stay gentle so you don’t injure the texture. While the paper is still wet, attach it to a drawing board or a piece of foamboard first taping one of the longer sides of the paper, then the 2 shorter ones, than the other long one. You can use gummed tape for this process as this is the only adhesive (I know of) that will work on a wet surface. As the paper dries, the fibers cannot shrink back, as you’ve stretched the paper. It is important to know that what you attach with gummed tape will remain there whatever happens, so do not use your favourite oak table as a drawing board because you cannot retrieve the painting without serious damage to your table – that’s why a drawing board or foam board is best. Once you are finished painting on stretched paper you can cut out the painting from the board with a box cutter – do not try to retrieve gummed tape as it might tear your entire painting.
This is the ‘official way’ of stretching, but according to my own experience attaching dry paper onto my drawing board with simple craft tape will somewhat help. The paper will probably buckle during painting, but it smoothes out fairly well after drying. You can retrieve craft tape when the painting is completely dry.
Texture
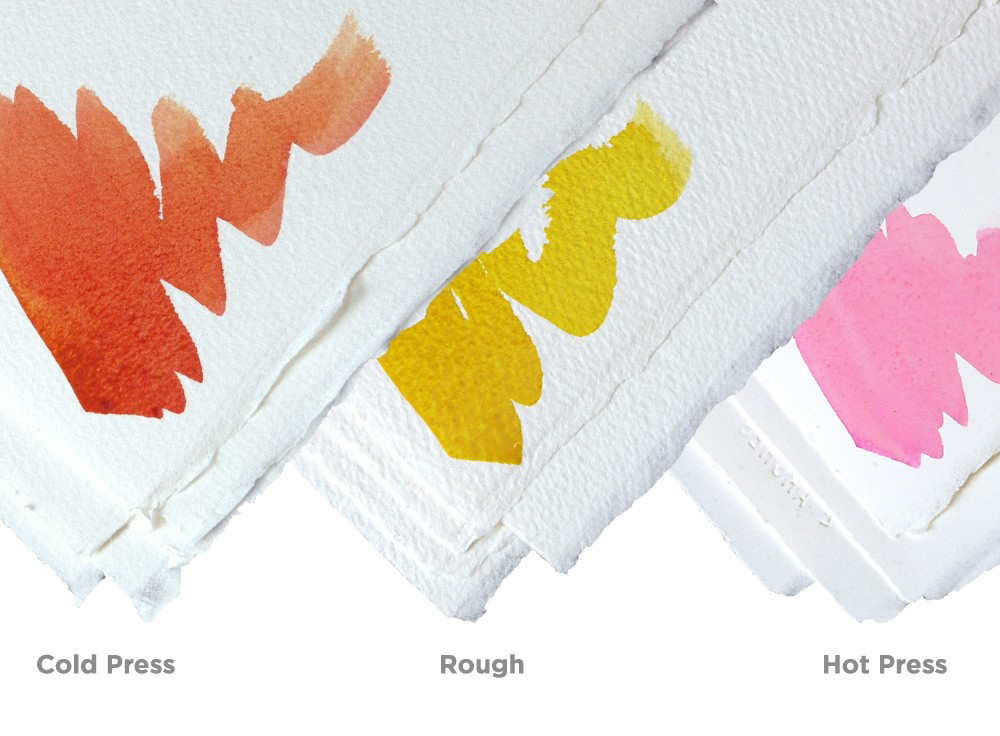
While the paper’s materials will usually indicate its quality, texture is more a question of preference. We usually differentiate 3 textures, which refers to how rustic the paper is. The actual ‘pattern’ is different from brand to brand.
Hot-pressed paper has the smoothest texture, with hardly visible pattern. Fairly small amount of pigment can get deep into the fibers, so it is not commonly used with watercolour, unless you paint a very detailed image. It is not suitable for so-called ‘wet-on-wet’ techniques, and if you use several layers of paint (as watercolourists usually do), the bottom layers are likely to disappear.
Cold-pressed paper has a lot more rustic surface, and pigments can filter into the fibers. This paper is suitable for ‘wet-on-wet techniques’ but you can only paint a limited number of layers without erasing the bottom ones.
Rough paper has a – surprise surprise – rough surface. Pigments can penetrate quite deeply into this kind of paper, so this one is the most suitable for painting layers. At the same time, accidental mistakes are much harder to remove with water than in the case of hot-pressed and cold-pressed paper.
Sizes and types
You can find watercolour paper in various forms, the most common way to buy them is to purchase individual sheets, but you can buy them in rolls, pads or sketchbooks too.
The advantage of buying watercolour paper in large sheets is also its disadvantage: you can cut it into any size you like, but – unless you work in enormous sizes – you will have to cut them up. This will probably still be the cheapest option though, as long as we compare same quality and weight papers.
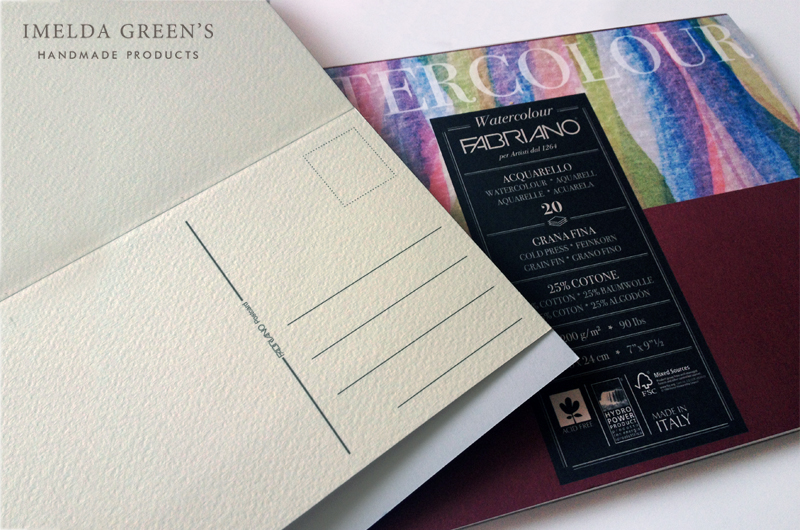
Currently my favourites are watercolour pads, which contain 10-20 sheets of watercolour paper glued together on one side, so they are very easy to remove. Pads with paper glued down on all 4 sides are supposed to solve the above mentioned buckling problem, but I find they are not so easy to use: if you want to move on to the next painting before finishing the first, you have to tear out the top paper, but then the stretching is gone. Besides, I have never managed to remove papers without damage unless I used a box cutter.
The problem using watercolour sketchbooks lies in the difficulty of stretching, as the bounding often prevents this process, nevertheless some artists really love this form of watercolour paper.
A guide to choosing your watercolour paper
As usual, my first advice would be to think about what techniques you want to use, what effects you want to achieve. You do not have to pay enormous amounts of money on watercolour paper, but it is advisable to choose the best for your purposes. A ‘Student’ quality will often do, for example I usually work on those. As well as in the case of paintbrushes, experimenting is the key. Here are a few things to consider:
- Do not choose paper under 140 gsm. Try to buy the thickest paper your purse will allow.
- Buy watercolour paper in art supply stores or ask for the assistant’s help if you are in a simple stationery shop. The ingredients of the paper metter, which you may not be able to identify at first glance (hopefully the assistant can…).
- Buy gummed tape for stretching, or if you find this too complicated, use craft tape.
- Experiment with textures to find the best one for you.
- Always use acid-free paper with the highest percentage of cotton possible.
Have you got experience with paper? Have you got a favourite brand of watercolour paper? Share them with us in the comments!
I based this article on my own experiences, but I have found other helpful sources here:


Comments (2)
Erika Lancaster
July 10, 2018 at 1:17 am
Awesome post! Paper makes SUCH a huge difference when painting with watercolors! Thanks for this!
Imelda
July 25, 2018 at 9:20 am
Thank you, so glad it’s helped :)