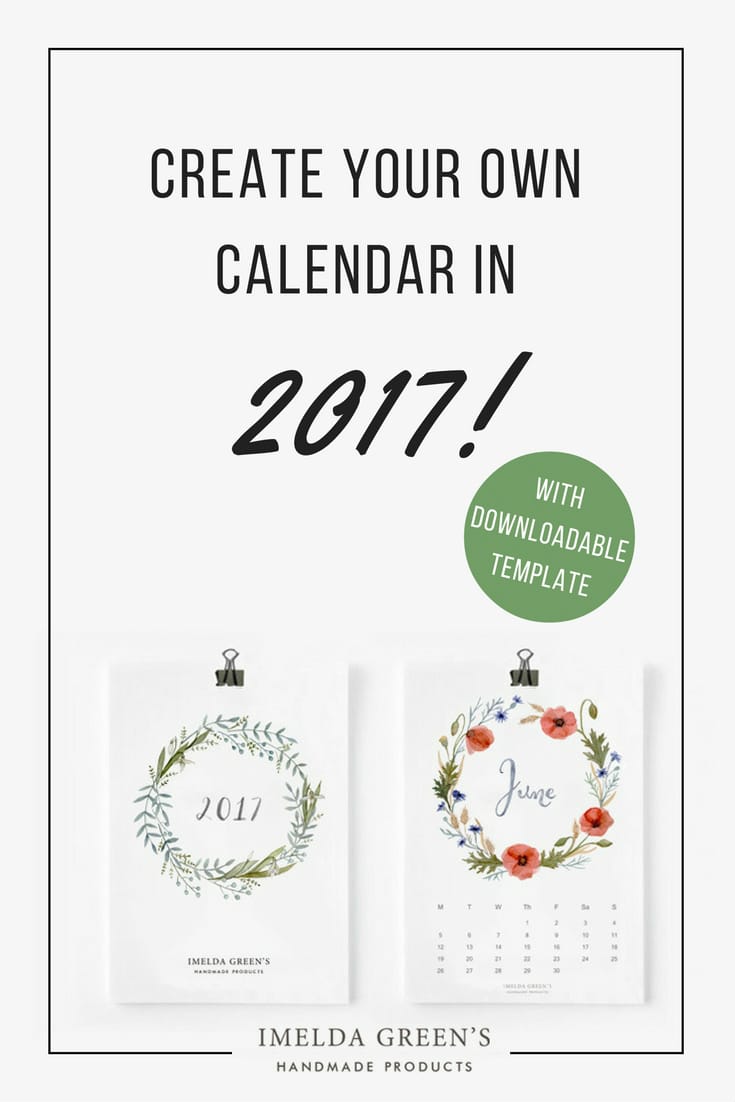
Draw your own calendar in 2017! (with downloadable template)

I must admit I was a little sad when I posted the last downloadable wallpaper calendar on the blog. I liked to do them and you guys liked them too, but next year will bring change and I will not continue with this series. However, just because I don’t create a new calendar, there is no reason why you shouldn’t – actually it might even feel good during this busy season to draw/paint in solitude for a couple of hours.
Naturally you can download some amazing new calendars for 2017 but that’s not exactly the same as something you do yourself. I have therefore made this collection purely for inspiration, so if you are out of ideas just now, you can still start creating right away.

Image sources: 1, 2, 3, 4, 5, 6
It’s your turn now!
I’ve created a very minimal-style 2017 calendar template that you can download from the content library (sign up to reach the content library. Already a member? Click here!). The template is in A4 format, which leaves you a little more than half of the paper to explore your creativity but of course you can print it in A3 or A5 size if you have different ideas. There are two versions of this template in the package, one with the names of the months and one without – so if you feel like you can use calligraphy to paint ‘March’.
How to make your own calendar
Print out the 2017 calendar template. Decide in advance what kind of technique you are going to use as it affects your choice of paper. If you want to paint, for instance, you should choose watercolour paper, which some printers have difficulty with. So in this case the best thing to do is run along to the nearest print shop and ask them to print your document on the watercolour paper you have brought along. Don’t choose a paper that’s too thick, as even grand print machines can have problems with those (don’t choose anything over 200 g/m2). However, if you want to use a marker pen or make a collage, you can go for a simple 180-200 g/m2 paper, which your home printer should have no trouble with. Try to avoid the simplest copy-paper though (80 g/m2), otherwise the result might end up low-quality.
When you are done with printing, it is time to unleash your imagination and decorate your calendar. It looks nice on photos when all 12 months have similar/matching designs but if that doesn’t work out, do not despair! You will see only one month at a time anyway.

When you are done decorating, all you need to do is put your masterpiece on display. Spiral-binding is an obvious choice, which any print shop will do for you. Ask for metal sprial though, the plastic one might be cheaper, but looks crappy. On the other hand, there are a lot of other creative ways you can use to hang pictures on the wall: if you use a paper clip you will not have to puncture your artwork, but if you don’t mind the hole, strings can also function as stylish hangers. If your desk stands by the wall or you want to put your calendar on a kitchen shelf, a clipboard will look awsome.
And tadaam! You are ready! Get creative, it is so easy!


Comments (6)
Andrea
January 3, 2017 at 2:58 pm
I love this idea! I still use a traditional calendar despite having an iPhone and such, a custom one seems even better!
Imelda
January 4, 2017 at 8:49 am
Thank you, Andrea. I also love traditional stationery, however cool digital things are.
Julia Dimakos
January 3, 2017 at 4:37 pm
What a cute idea! I will definitely try this with my daughter.
Thanks.
Julia Dimakos
http://www.juliadimakos.com
Imelda
January 4, 2017 at 8:50 am
Oh yes, it is also great stuff to do with kids!
RuthAnn Rafiq
January 3, 2017 at 4:41 pm
I just signed up. Can’t wait to decorate my own. Thanks so much!
Imelda
January 4, 2017 at 8:50 am
Thank you, RuthAnn. Hope you have a good time :)