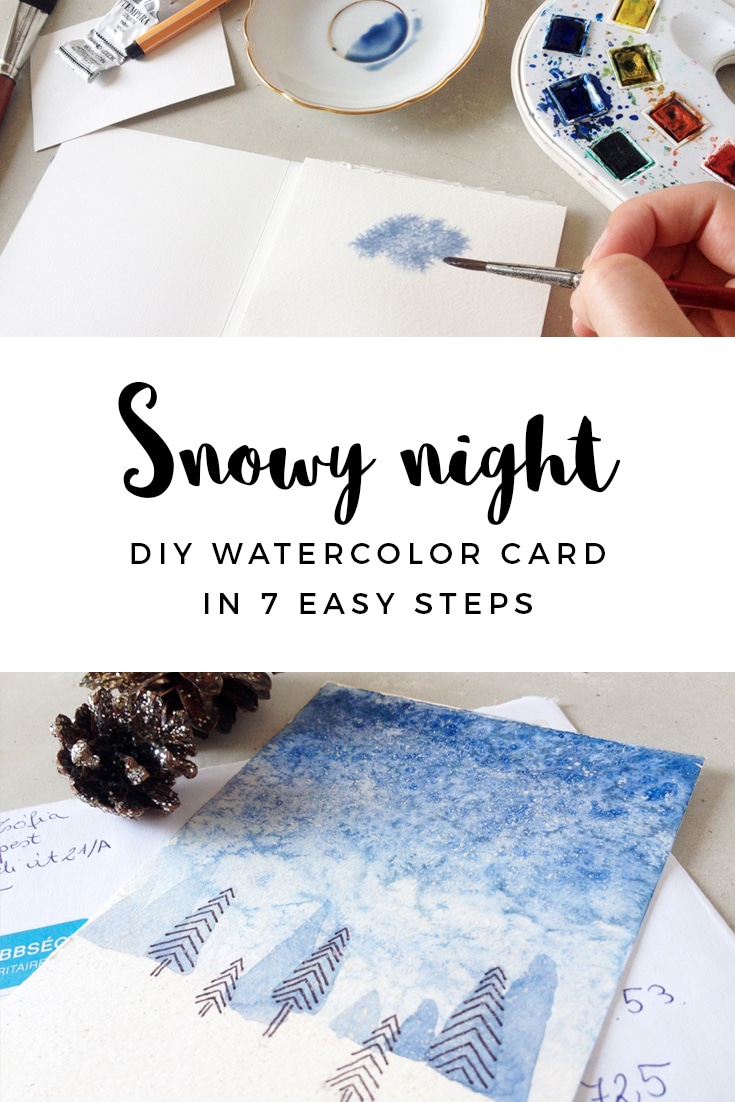
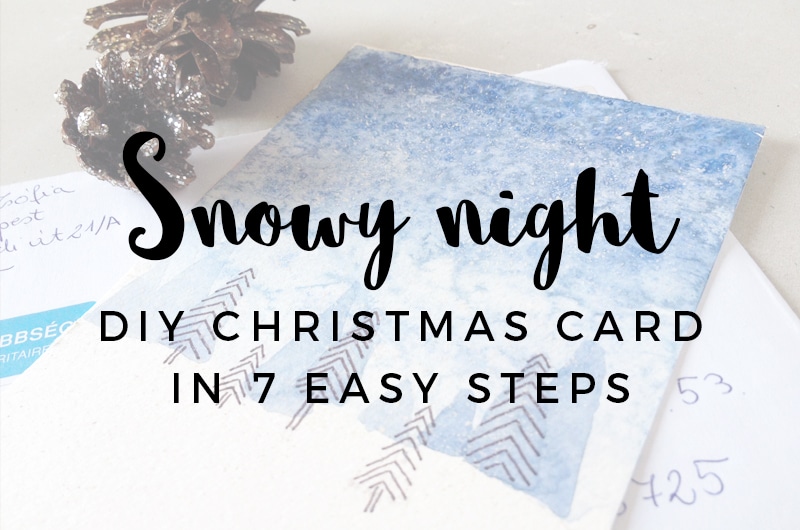
Snowy night – DIY Christmas card in 7 easy steps
After all, painting is not a big deal. As a matter of fact, anyone can paint this little picture, who has paint and brushes at hand, as it doesn’t require much talent, yet the result is quite nice.
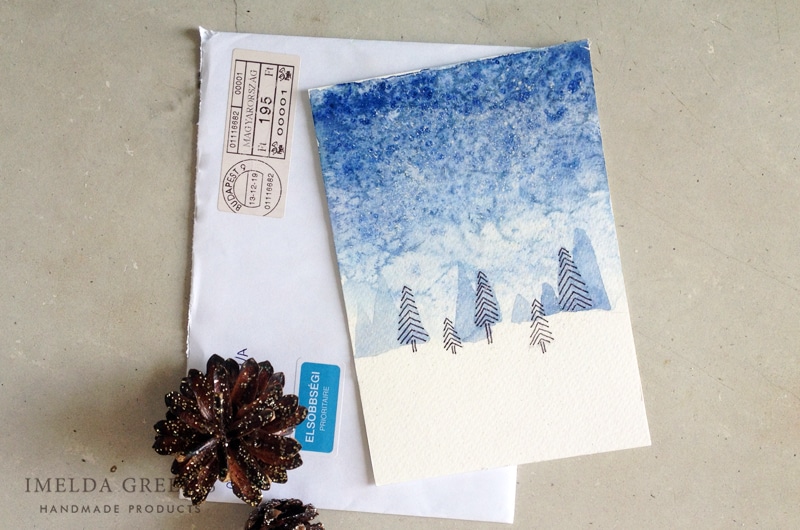
In the next few steps I am going to show you how I made this little painting, so you can also give it a go. When finished you can send it as a postcard or simply put it on the mantelpiece for a bit of Christmas feeling.
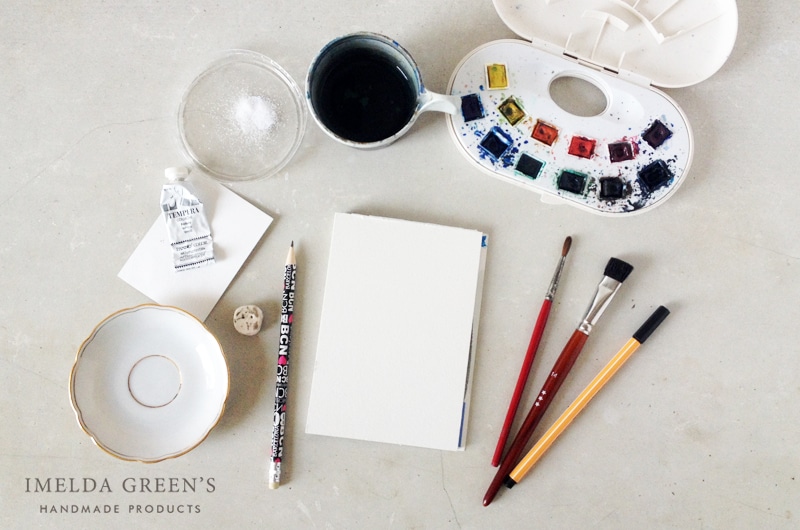
What you need:
- watercolour paper (I use an A6 sized Canson block)
- adhesive tape (I didn’t have this as my watercolour block is glued on 4 sides)
- watercolours
- white gouache
- brushes: a middle sized round one for painting and a bigger flat one for sprinkling snowflakes and making the paper wet
- a saucer and a scrap of paper as a palette to mix paint
- water
- a bit of salt
- pencil & eraser
- black needle-point pen
Step 0 – getting ready
Stick your paper onto an art board or your desk with adhesive tape like this. As I’ve said before, when using much water the paper can curl up during drying. You can prevent this from happening by sticking the paper down on all sides, only releasing it when the paper is completely dry.
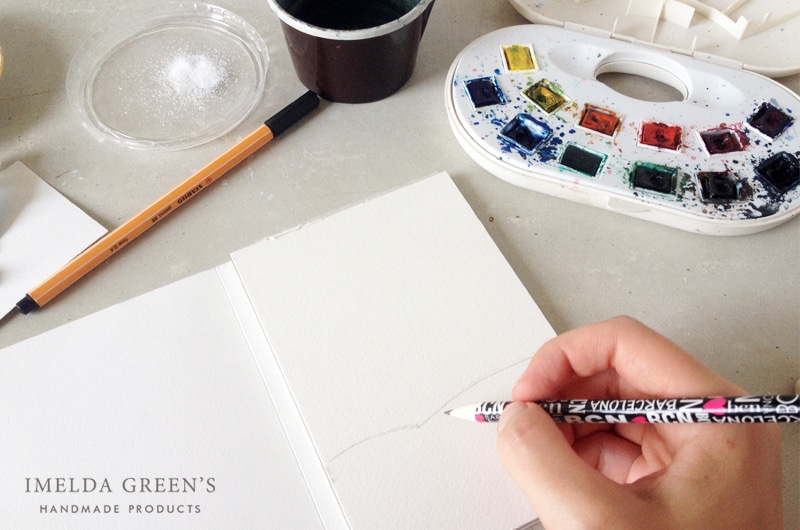
Step 1 – the first line
Draw a line at about 1/3 of the paper. This will separate ground and sky. As we are creating a snowy ground, the line doesn’t have to be straight. Imagine the curves of your duvet – that’s what a snowy surface looks like! Don’t press your pencil too hard, it is only a guideline which you will erase in the end.
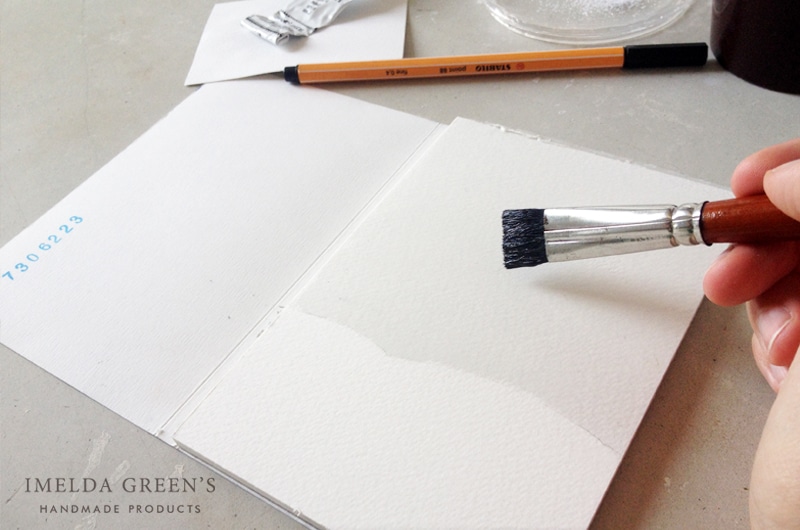
Step 2 – making the bed for watercolours
Spread clear water on the upper 2/3 of your paper with your flat brush until you the line of the ground. You will paint on wet surface so if your paper drinks up all the water, then spread another layer on it. This is why you need watercolour paper instead of any other: while other types drink up water quickly, it takes longer time with watercolour paper, so you have the chance to play around with wet surfaces.
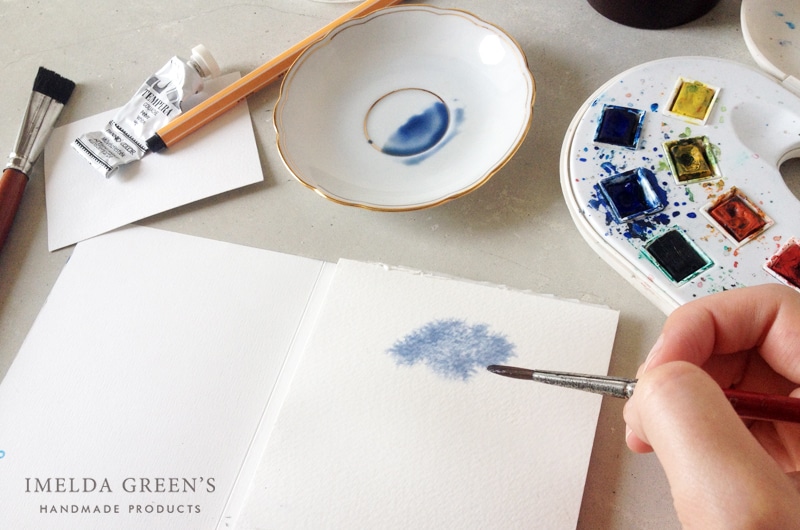
Step 3 – painting the sky
Mix dark blue colour in your saucer. I used 2 types of blue, some purple and some green for this, but you should experiment to find what you like. When you are done, spread the colour with the round brush on the wet surface in a way that it becomes darker on the top and lighter at the bottom. If you start painting from the top and gradually go downward it should work naturally (as paint is emptying from your brush) but if you don’t manage, there is no need to panic just yet, you can retrieve paint like this: wash your brush, dry it with a napkin, then move it over the area from which you want to recover colour. The brush will drink up the extra paint. Try to paint as quickly as you can so the surface is still wet when you are finished (that’s why it’s good to paint on A6 sized paper, it’s small enough to finish quickly).
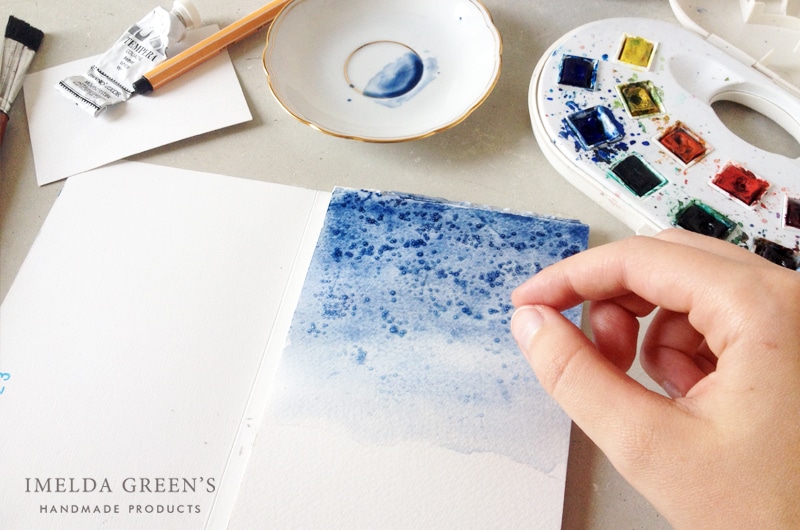
Step 4 – swirling snow
Sprinkle some salt on the still wet surface. Salt can remove wine stains and it works the same way on watercolours: the tiny pieces of salt swallow the pigments, so the result resembles a swirling snow storm. Once you’ve salted your artwork it’s time to have a rest until it gets dry.
pro tip: if you are too impatient to wait for your work to dry you can use a hairdryer.
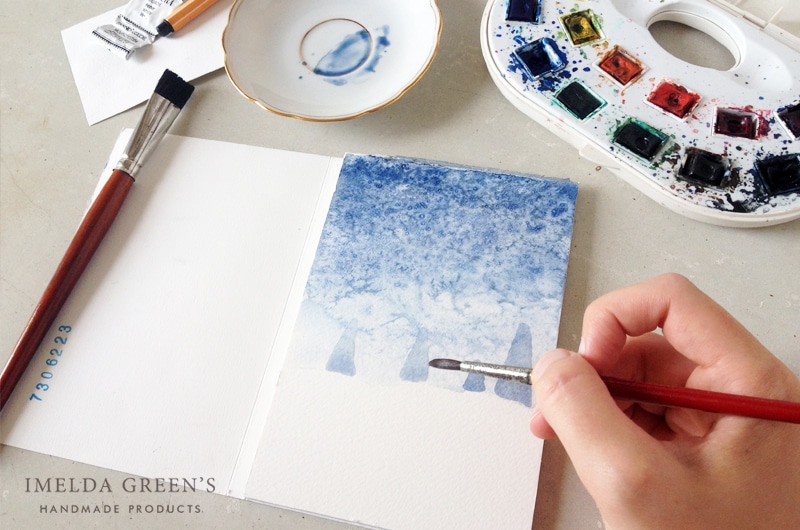
Step 5 – painting pine trees in the background
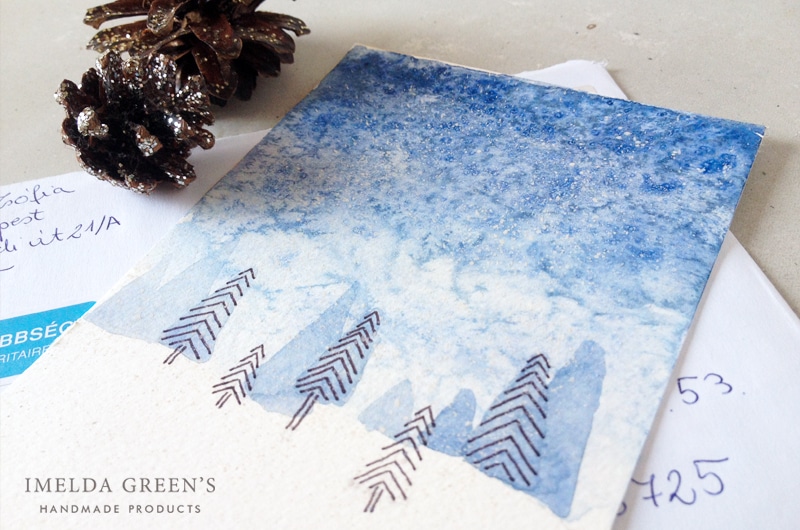
Once your painting is dry, sweep off the salt – you can now see the snow storm. Now, paint triangles on the ground-line in various sizes. You can mix up a new colour for this or you can use the same blue as the sky. If the background is indeed dry, your trees won’t dissolve into the sky. The trees can stand alone or they can overlap. If you choose the latter, you can achieve beautiful results by waiting for the first to dry before painting the overlapping on top.
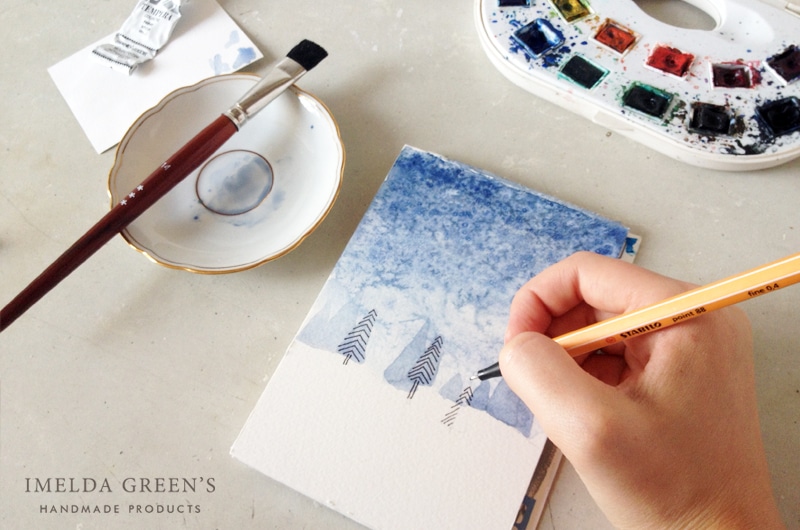
Step 6 – drawing pine trees in the foreground
It’s time to highlight your pine trees and give your artwork a little more modern look. Once your painted trees are dry you can draw the branches either on top of the painted ones or completely separately. You can draw them in free hand, there is no need for them to be too geometric but if you are not so spontaneous you can draw the middle line of the triangles in pencil for guidance, which you can erase in the end.
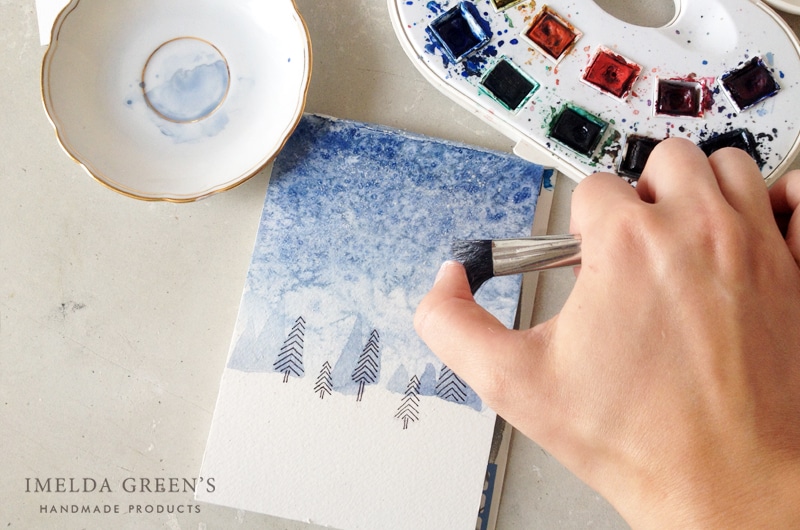
Step 7 – some more drizzle of snow
If you are satisfied with the swirl, you can skip this step. However, if you want to add some extra bit of snow, just press out some white gouache on your spare scrap of paper and mix it with a little water with the help of your flat brush (the consistency is good when it resembles yoghurt). Collect some paint on your brush with circling movements then splash it on the paper (the movement is a bit like washing your toothbrush after using it).
pro tip: you will probably splash the white gouache all over the place so instead of painting on your Persian rugs, find a surface that is easy to clean.
You can read my tips on spending these few minutes well here.
Now all you need to do is wait for your artwork to dry and you are ready with the little Christmas scene. You can decorate the bottom third of the card with text or you can paint flying Santa in his sleigh on the sky – it’s up to you. So get creative! :)