
New medium #3 – Pen and ink
What is it that crosses the architect’s mind when it comes to ink? Hatching, university, descriptive geometry… To put it shortly, my experiences are rather horrible, not to mention that this technique is somewhat similar to graphite pencil drawing, which is another thing I’m not friends with. Last November, however, I had no option but to give it another go with black ink at the illustration workshop and BOOM! I’ve been using it ever since.
What is this section?
One of the conclusions I drew from the illustration workshop was that I’ve become a bit lazy: I am not experimenting enough with new techniques, I am happy in my bubble of watercolours. Of course, there is nothing wrong with dwelling deep in one medium and learning all the secrets but if you don’t get out of your comfort zone you miss a lot of fun. So I’ve decided to start a new series on the blog: I’m going to try techniques that are new to me and tell you guys about my experiences.
So what’s this and how does it work?
Working with black ink is a little like grabbing a pen and drawing with it. If you have isograph pens you actually do this: you take the pen apart and fill the little tube inside with paint, which will get onto the paper through the pen’s ball point. The line weight will depend on the pen, you can buy different sized isograph pens in your local stationery store. However, I have lately chosen a more complicated technique: I apply ink onto the paper with a dip pen. There are different sized pen nibs available for different line weights, you can change these in one penholder. While the liquid pours onto the paper quite homogenously when using isograph pens, when it comes to dip pens, the ink will gradually run out from your nib so the line is going to grow thinner and thinner until you dip it into the paint again.
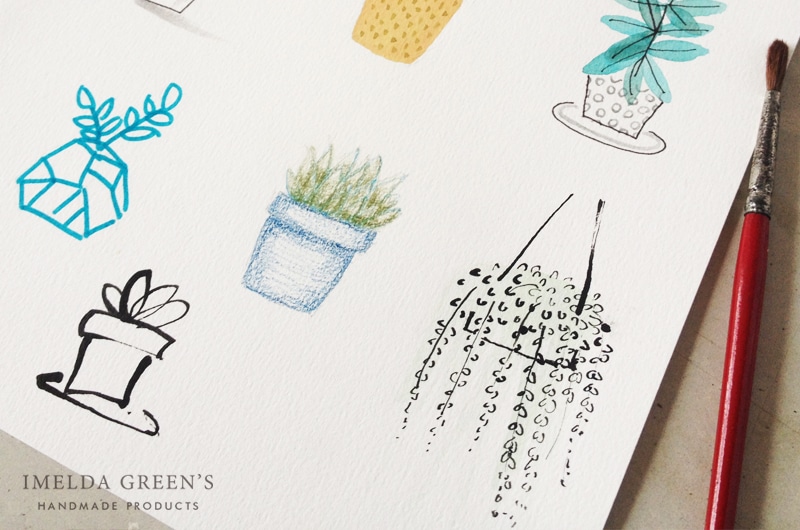
An ink drawing will consist of lines, but unlike a pencil drawing you cannot achieve different tones by pressing the pen harder – the surface is either black or white, there are no shades of grey, so you can only achieve different tones by hatching and cross-hatching. Of course there is a different way of using ink, mixing it with water: you can apply it with a brush and achieve different shades of grey depending on the amount of water you use.
Compared to a ball-point pen, ink dries a little more slowly – I learned this the hard way during university when I finished a carefully drawn line only to smudge it a minute later. However, this technique doesn’t need very special paper, a simple 180 g/m2 thickness is just as good as fancy watercolour paper with texture (unless you mix your ink with water, in that case you will definitely need watercolour paper).
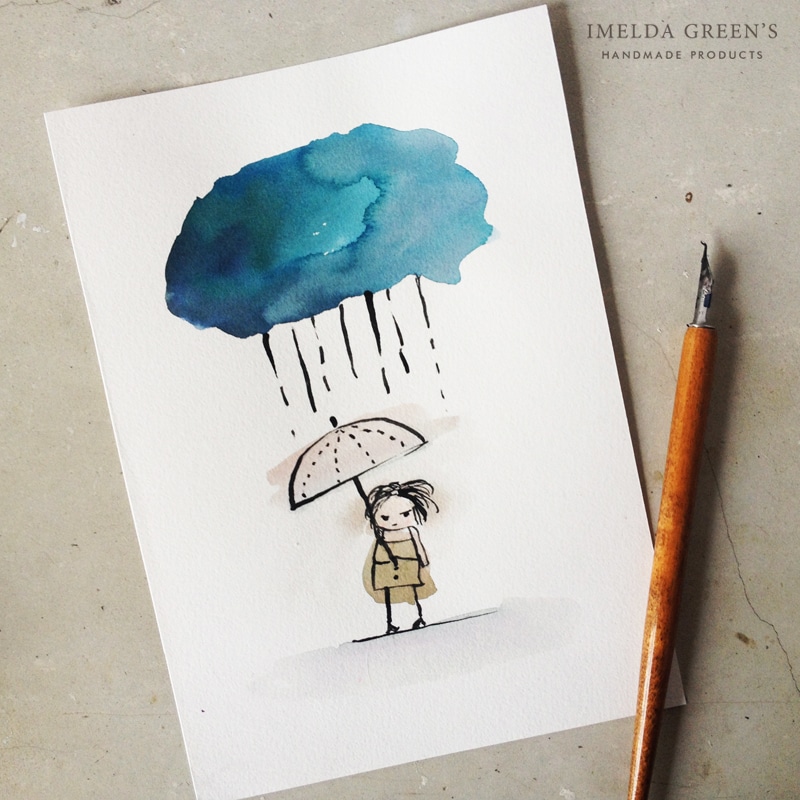
As for the paint itself, you can choose from different kinds. India ink can be obtained in waterproof and non-waterproof versions, which is especially important if you want to paint on top of your drawing with watercolour like I did: if you use non-waterproof ink, your watercolour layer will dissolve the ink, resulting in a complete mess. For these paintings I used the more expensive, acrylic-based ink, which is completely waterproof, but for a simple monocrome drawing you can choose the cheaper non-waterproof kind.
Traditionally an ink drawing is black and white, but there are plenty of different coloured paints available now, so feel free to experiment.
Supplies you need
You can probably buy all supplies for ink drawings in a big stationery shop or art store. Here is the equipment you’ll need.
- ink (I’m using this one, which will not dissolve in water)
- pen nibs and holder or
- isographic pens or
- a reed pen (can be home-made, though I haven’t tried it yet)
- paper (preferably thick, at least 180 g/m2)
How much time does it take?
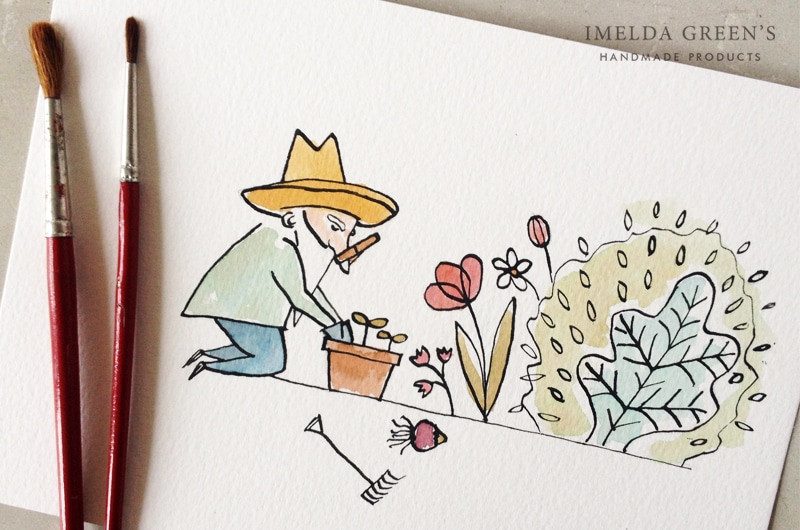
One great advantage of this technique is that it’s versatile: you can create very powerful images in just a few strokes or you can work on it for hours and hours and paint in great detail. The drying process of ink can depend on how thick you’ve painted and the kind of paper you use, for me it was 5-10 minutes on watercolour paper. If you pre-draw your images in graphite pencil, make sure your ink is completely dry before erasing your guidelines, smudged ink looks horrible. The image above is A5 size and took aproximately 25 minutes to complete including colouring and drying.
The verdict
I am not very confident with ink just yet but I can see great potential in it. Quick and expressive pieces are pretty much out of my comfort zone and I definitely want to practice more with them – when I happen to manage, I kind of like the power of the result. For this, pen and ink is a great medium.

Comments (2)
Natasha Botkin
April 10, 2017 at 2:54 pm
Love this! I am just stepping back into my artistic creative paintimg and drawing, and this help so much. Xoxo
Imelda
April 11, 2017 at 6:57 am
Oh, Natasha, I’m so happy to be able to help you get creative again. If you have any further questions, just drop me a line :)