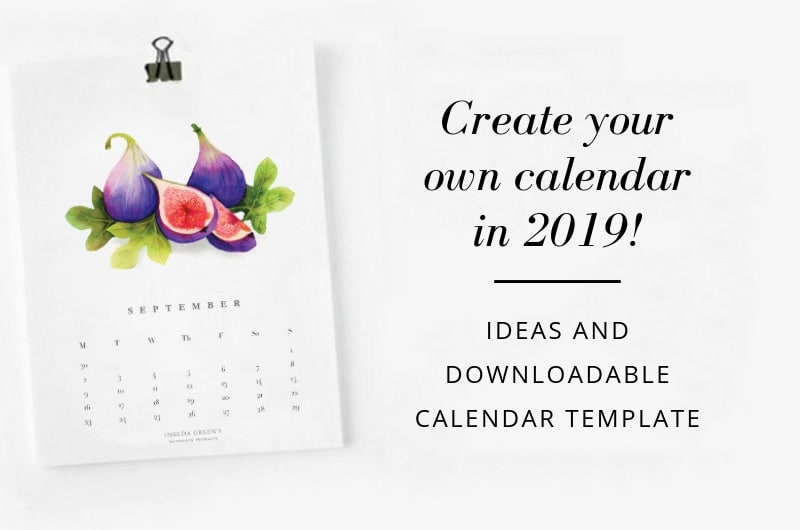
Create your own calendar in 2019!
Creating one image is no big deal. But making a whole series of pictures is a grand task, and the result is a piece of art, even if ONE of the images would not qualify as art. As soon as you start making more than two images in the same style, you realise that A) you actually have a style, and also B) that it’s not that easy to keep this style throughout the series.
I realised this truth while painting various calendars, and ever since, I cannot stop thinking about painting series – sometimes smaller, sometimes larger. So it’s obvious that I’m trying to show you the beuties of creating a series by making a calendar.
Down below you can find a blank calendar template, which you can download for free. There is plenty of blank space in it, so you can create your very own wall calendar for 2019. The finished piece can decorate your home or you can give it as a hand-made christmas present.
Need inspiration? Scroll down!
1. The photo calendar
is an ever-green that simply cannot go wrong. You can think of 12 family photos of course, but you can keep a theme throughout your photos. For example, you can use
- the same topic (only cats, only roses, only houses, etc)
- the same colour palette (only yellowish, warm colours, only b&w pictures, etc)
- the same photo filter
- the same cropping (only circle, only square images, etc)
How to do it:
- Choose 12 photos, print them, and stick them into the previously printed calendar template, or
- edit the images into the calendar template digitally with the help of some Adobe software (Photoshop, Illustrator, InDesign). You can also use free photo editing softwares.

2. The collage calendar
Talking about digital editing… This version was probably created digitally, but if you prefer manual techniques, you can do it with collage.
How to do it: cut the shape in scrapbook paper and stick it to the previously printed calendar template.

3. The illustrated calendar
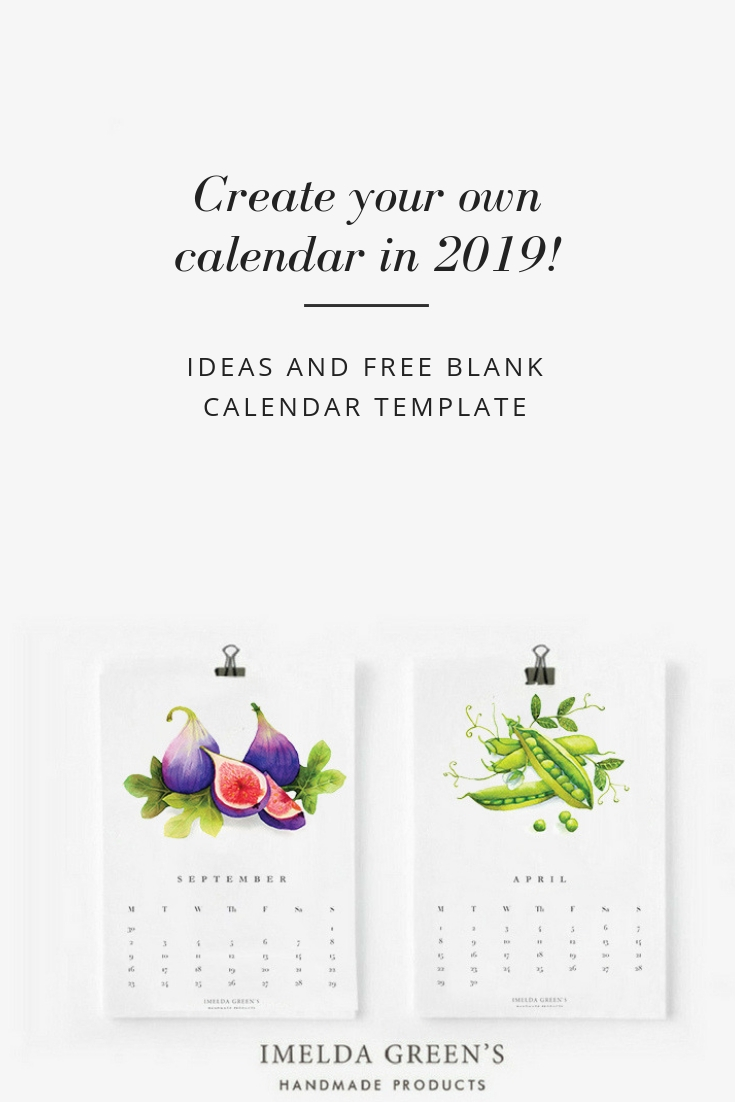
Here is a classic painted version. You just cannot go wrong with 12 illustrations on one theme.
How to do it:
- choose paper according to your medium. If you want to paint with watercolours, paint your pieces on watercolour paper, then stick them into the previously printed calendar template, or
- print your template on watercolour paper directly. Be careful with this solution though, because not all printers like thick paper. If you do not print at home, always ask your printer’s how thick the paper can be.
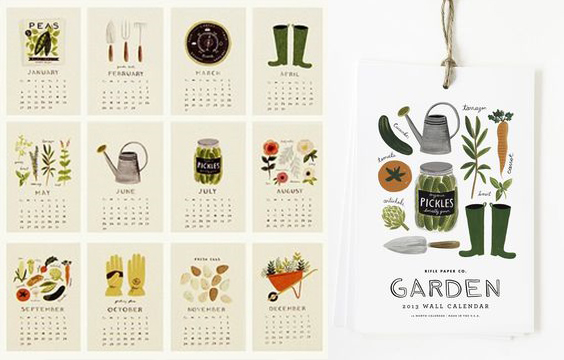
4. Calendar in minimal-style
You haven’t raised objections like you are ‘not creative enough’, have you? The calendar below is not exactly complicated to make, yet the designs form a complete unity.

5. The typographic piece
Graphic designers are probably looking at calendars like these with a softened expression but even if you are not a graphic designer, you can create something like this. It is more a question of imagination. If you are looking for nice fonts, look here.
How to do it:
- open the calendar template in an Adobe software or word and put the typography on top, or
- draw the letters onto the previously printed calendar template by hand. You can think about calligraphy too.
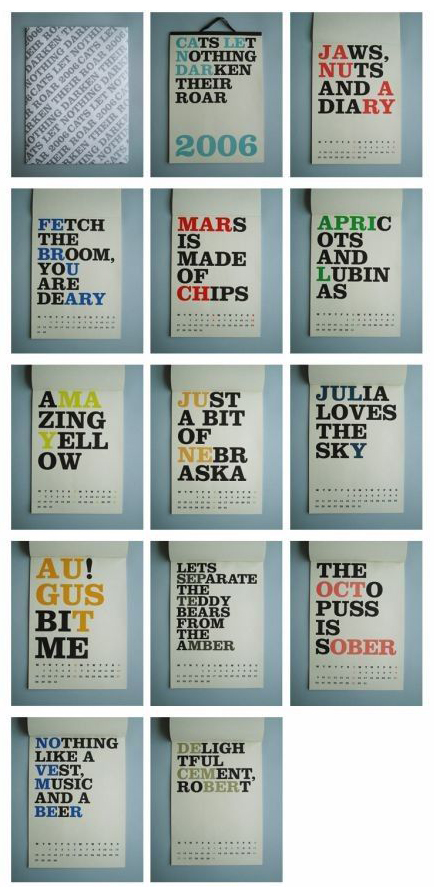
+1. The watercolour calendar
This piece below is one of my favs, because it seemingly has no theme, yet it clearly has some cohesive force. I think it is the medium and the limited colour palette, that creates a whole. If you already have some paintings that you can organize into a series (for example, if you did Inktober…), you can stick them into the template.

You can find further inspiration in the blogposts for the 2017 and 2018 calendar templates.
Grab the 2019 calendar template!
You can find the template in the blog’s content library, which you can reach for free, once you have the password. If you are a newsletter subscriber, you can find the password at the bottom of the latest newsletter. If you haven’t subscribed yet, now is a good time, and I’ll send you the password in a few minutes.
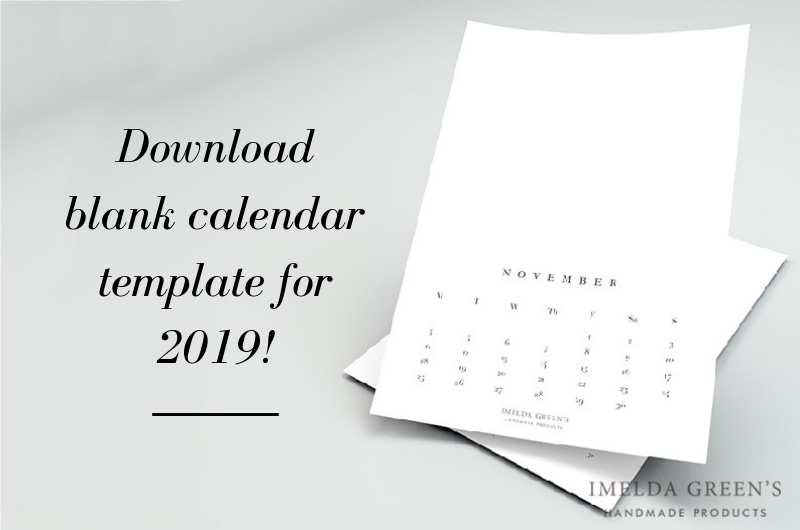
You can download the calendar in A4 format, but there is nothing stopping you if you want to print it in smaller or larger size, depending on your ideas of decoration.
Try to avoid 80 gsm copy paper when printing, that will give you a rather poor result. Always choose paper according to the medium you want to use, but try not to go under 180 gsm weight. You can find further information on papers here.
You can use wire, paper clips or washi tape to fix your new calendar on the wall.
Don’t forget to share the finished piece on Instagram, and tag me @imeldagreens.


Comments (4)
Amber C
November 20, 2018 at 1:27 am
The college and watercolor calendars are my favorites!
Deborah
November 21, 2018 at 12:45 pm
All of them have merit in their presentation. What a fabulous array of choices! You have done well to present them all here.
Vox
November 21, 2018 at 1:05 pm
When my kids were little, we used to take a variety of photos that we had taken throughout that previous year and put them chronologically in a personalized calendar for our moms and aunts and dads. It was our way of not only sharing photos that no one would have probably ever seen, but to share how much the kids had grown from year to year. That was before digital cameras and the internet, so I used to go to a copy place to order them. It was something unique that folks looked forward to receiving every year. Thanks for sharing awesome variations on that idea. 😀
Anne-onedeterminedlife
November 22, 2018 at 3:27 am
These are all great. My favorite is the barns. So rustic and beautiful