
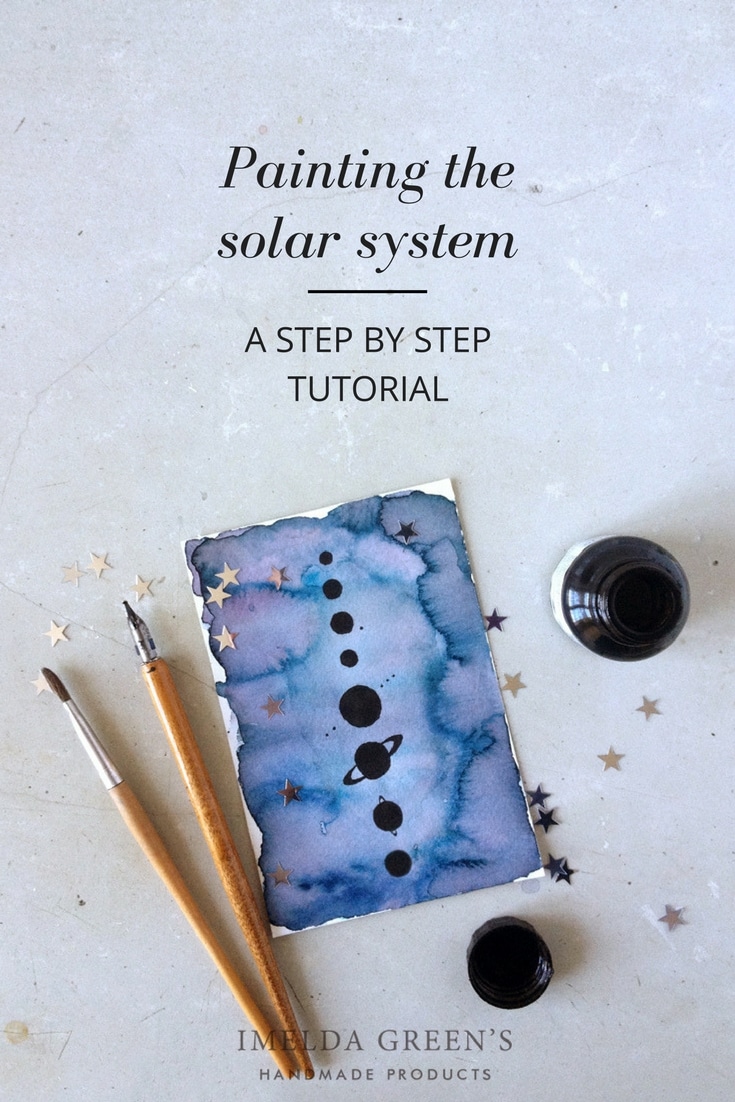
Watercolour painting class – minimalist Solar System
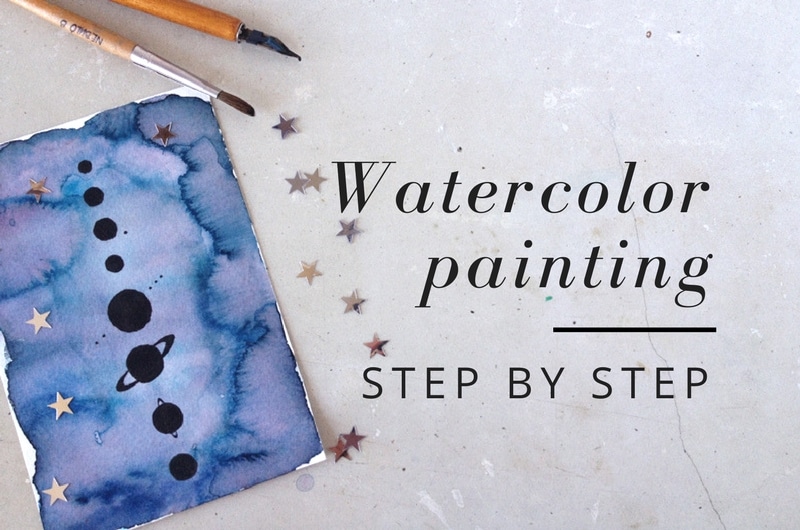
If anyone decides to do watercolours it is inevitable to bump into galaxies at some point. No wonder: they are colourful, you can splash around and it is practically impossible to spoil them. In my case, I also have an unfortunate obsession with all things space and stars… so here we go, I painted a minimalist style Solar System.
This picture was actually created in 20 minutes (not counting drying time) and is a crossing between an incredibly cool tatoo and my love of watercolour splashes. I had been browsing through some amazing space-themed tatoos when I found this piece, which concentrates on the most characteristic features of the planets in the Solar System in a lovely, minimalist style. It’s been love at first sight, even if I wouldn’t have it on my skin (yet).
As it was so easy to make this painting I decided to share the details with you, perhaps you also get into planet-painting. So, here is a step by step guide on my watercolour Solar System:
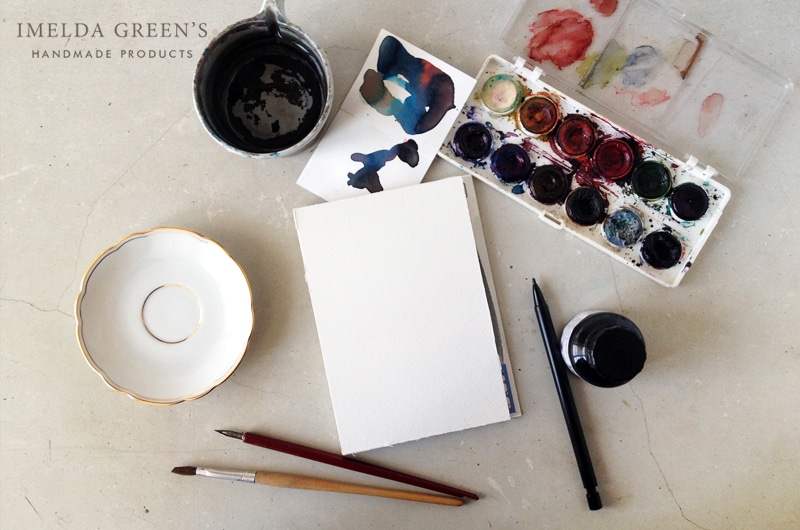
What you need:
- watercolour paper (make it as thick as you can, I use an A6 sized Canson block with 300 g/m2 paper)
- adhesive tape (I didn’t have this as my watercolour block is glued on 4 sides)
- watercolours or aniline-paint
- a middle sized brush
- a saucer or a scrap of paper as a palette to mix paint
- water
- pen and ink
- pencil and eraser
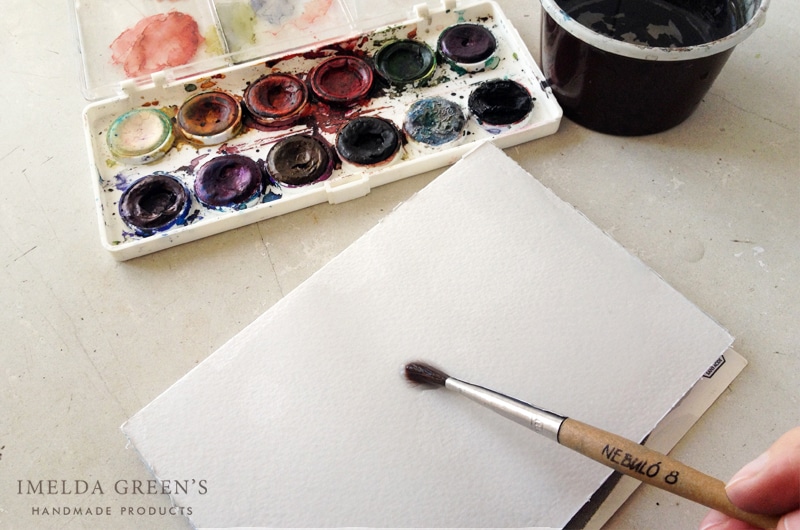
Step 0 – getting ready
Stick your paper onto an art board or your desk with adhesive tape like this. As I’ve said before, when using much water the paper can curl up during drying. You can prevent this from happening by sticking the paper down on all sides, only releasing it when the paper is completely dry.
Step 1 – spread water on the entire paper
…quite a lot of it. Just like in my watercolour splash tutorial, we are going to let the colours mix in this puddle.
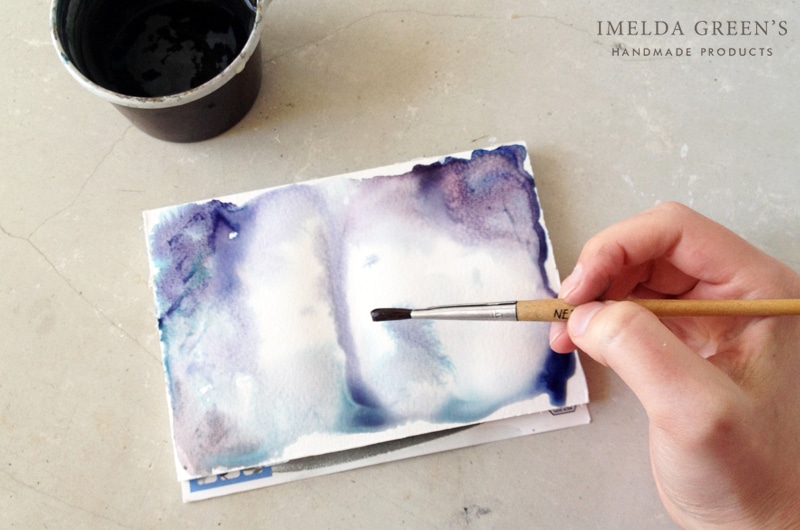
Step 2 – painting the night sky
In other words, splash the colours of the night on your paper. This can include blue, purple, green, red, whatever you like. All you need to make sure is that the result is not too dark, otherwise your planets will not stand out of the background.
Once you let the paint dry a little you can apply some more drops of clear water on the surface, this will add some interesting textures to your night sky.
After you’ve done this, all you need to do is wait until the paint is completely dry. Depending on how much water you applied and how thick your watercolour paper is this can take up to 30-60 minutes. You can quicken the drying process with a hairdryer but be careful with this: if you hold the hairdryer too close to the paper the wind can blow the water along with the pigments, which will alter the texture of your painting. This doesn’t mean that the result won’t be nice, but don’t be surprised if the finished piece is not entirely the way you have planned it to be.
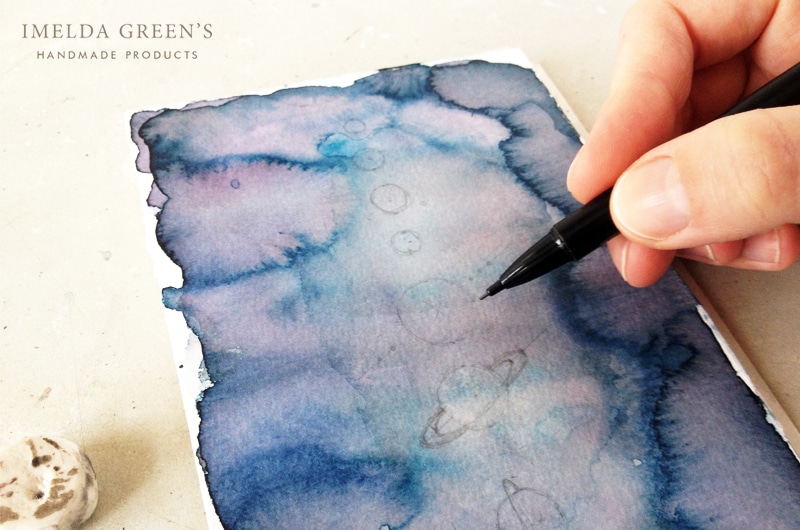
Step 3 – draw the Solar System
Well, you might have some trouble with this if you are too precise and want to center the composition both horizontally and vertically. As far as I was concerned, I drew a vertical line in the middle but took no notice of aligning it to the center horizontally. I simply started with the biggest planet, Jupiter, and moved towards the edges, with the result that my composition moved slightly towards the bottom, but I don’t mind it very much. I wasn’t too fussed with the planets’ proportions either. Jupiter is of course much, much bigger compared to Earth than how I painted it, but I find that the composition is a lot more balanced like this than if I painted Earth, Venus and Mars as small as a fleck of dust.
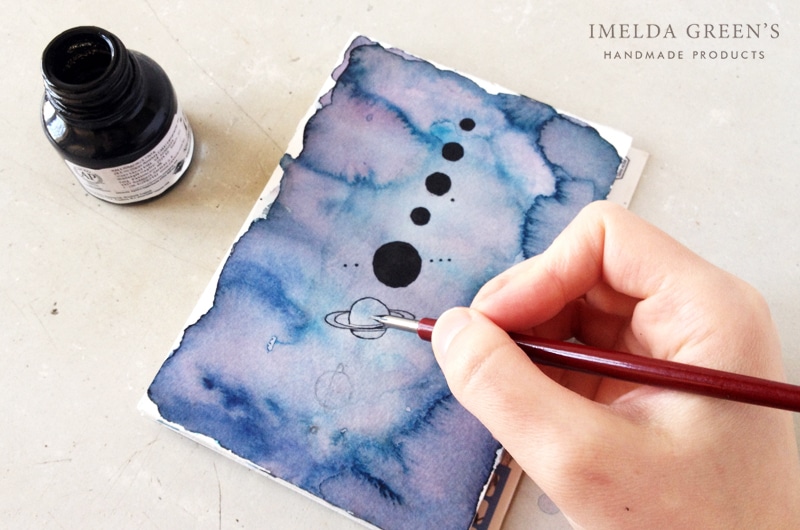
Step 4 – overlay with ink
Nice, boring work, that is quite impossible to get wrong. :)
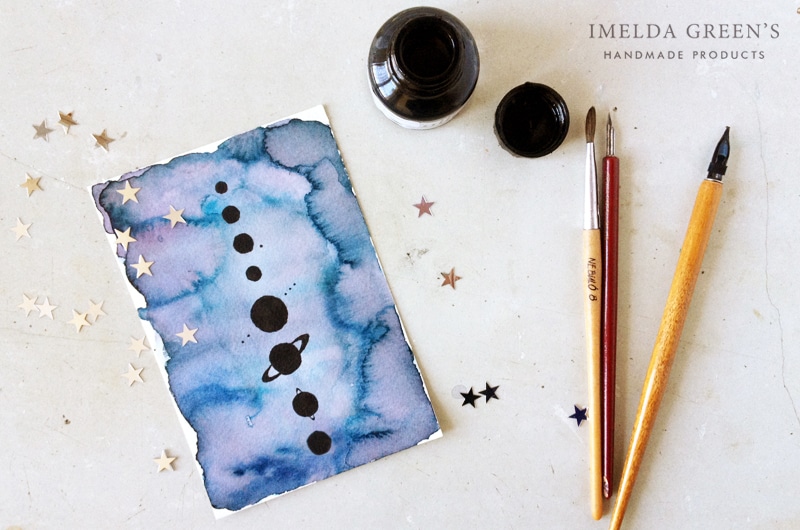
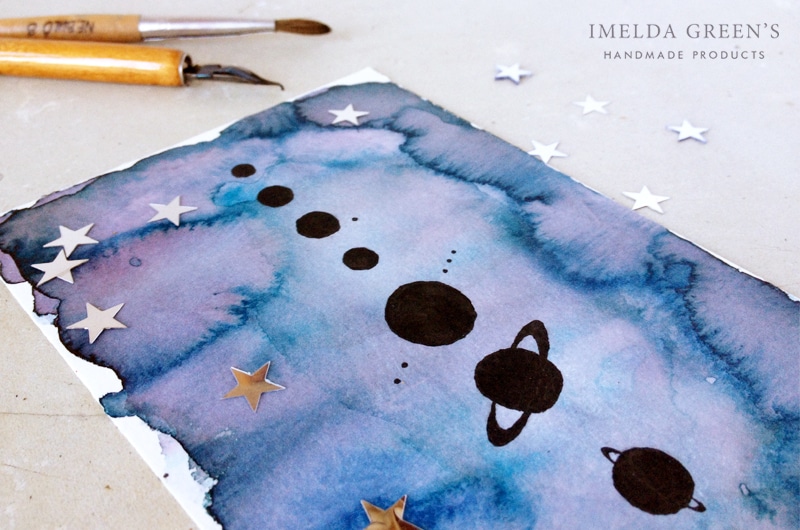
And you are done!
Make sure to wait for the painting to dry completely before erasing your guidelines, but after that, all you need to do is remove your adhesive and your home-made Solar System is ready to decorate your home.
I hope I got you motivated to grab your brushes and start painting watercolours. Share your finished pieces in the comments below!

Comments (3)
Christiana
March 6, 2017 at 3:06 pm
I love this, great post!
Imelda
March 6, 2017 at 4:16 pm
Thank you, Christiana
Mercae Benge
March 17, 2017 at 2:55 am
This looks like a great project I should do, I desperately need more brushes in my life!