
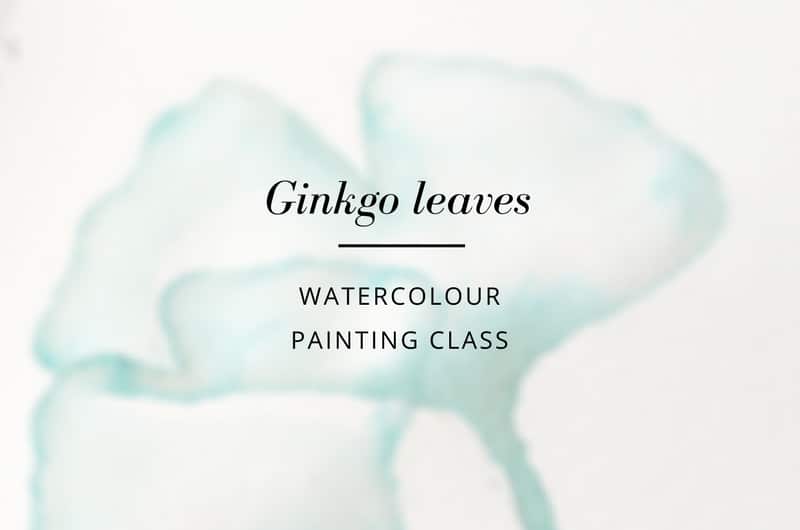
Watercolor painting class – ginkgo leaves
Ginkgo biloba is one of the plants with the best PR. It doesn’t only have healing powers but it’s also beautiful. Of course, the dandalion possesses these qualities too (among several other plants) and yet it was ginkgo, which became so iconic that almost anyone can recognise its leaves.
The butterfly-shaped leaves seemed the perfect model to practice the transparency of watercolours. It is precisely this ethereal quality, that made me fall in love with watercolours and that you can also learn with me today.
Supplies you need:
- watercolour paper (I use 300gsm A6 size paper
- watercolours or anilinie paint
- a small, round brush (size 2-4)
- palette (you can use a plate from your kitchen, some old tile, or buy a palette in an art supply store
- water
- tissues
- pencil and eraser
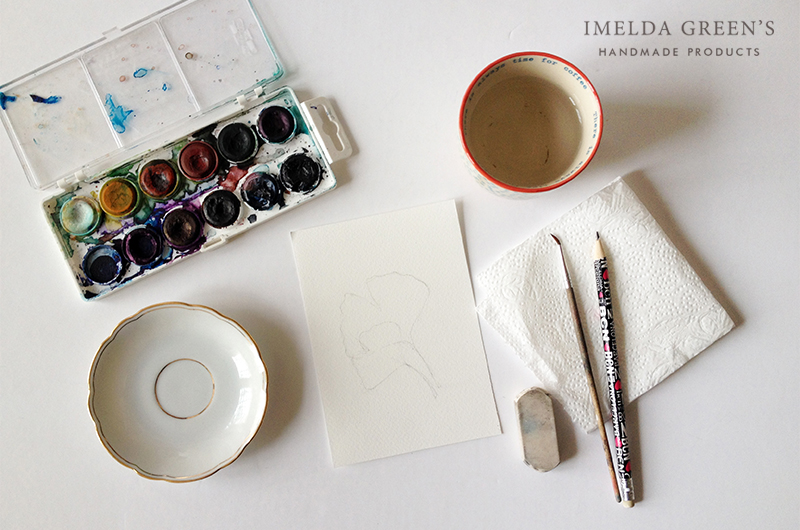
Step 1 – draw the leaves in pencil
You don’t need to think of anything fancy. If you don’t remember what a ginkgo leaf looks like exactly, look it up online. Draw 2 leaves, a smaller and a larger one, arranging them so that one slightly covers the other.
Tip: try to draw as lightly as possible, as the relation of grafite and watercolours is not quite clear. Some kind of watercolours will make grafite impossible to erase after painting on top of it. You should try this on a separate page first and if you find that it’s difficult to remove your sketch, then make sure you work extra-light. I have not had this problem with aniline paint though.
Step 2 – paint the first leaf
Mix a colour that you like. I didn’t aim for a realistic look, it was more transparency that I was thinking about when I chose this blue colour, which reminds me of water. Whichever colour you choose, make sure it’s mixed. Colours coming directly out of the tube are often too bright and can lead to kitchy results.
To reach that beautiful ethereal quality, paint a part of the leave’s outline, then quickly clean your brush, and wash away the edges of your outline on the inside of the leaf with clear water. It is important to work in small steps because this technique only works while the paint is still wet. If you paint the entire outline of the first leaf in one go, then your first strokes will already be dry by the time you would blend them. Clear water will guide the paint towards the middle of the leaf, but the colour will be less intense than on the edges. It is precisely this that gives you that nice transparent look.
You don’t need to apply this technique at the stems as it is so narrow, you can use darker paint there. If the inside of your leaf is still wet (as it should be due to the excessive use of water) then the paint will start flowing towards the middle at the point where the stem meets the leaf. If your leaf is already dry, you can use the same washing technique here as well.

Step 3 – WAIT!
It might sound funny, but this is probably the most important step. If you do not wait for the first leaf to dry before painting the second, then the two leaves will blend together completely, and the transparent look will vanish. If you are impatient you can use a hairdryer. Make sure you blow from a distance though, because if the air moves the water, the water will take with it the colour too. If you don’t want to bother with a hairdryer, check what useful things you can do in those few minutes while the paint dries.

Step 4 – paint the second leaf
To paint the 2nd leaf you should use the same technique as on the first, with one additional trick: try not to drop water on the edges of the first leaf. Watercolours dissolve in water even after drying, so the edges can completely disappear if you put water on them (take a look at the top of my 2nd leaf). If you find this too difficult, try to use a smaller brush (bearing in mind that smaller brushes hold less water).

Step 5 – the final touches
Again, wait for the painting to dry completely, then erase the sketch under your ginkgo leaves. It is very important that this happens after the leaves completely dry, otherwise you might damage the paper.
Tip: if you think the piece is completely dry, place your palm on the painting. If it feels cold, wait a few more minutes.
Watercolours tend to look lighter after drying than when they are wet, so if you find you need additional contrast, now is the time to darken the painting. Once everything is dry, you can add the veins. Use swift, light movements from the root of the stem towards leaf edges. Try with lighter paint first, then if you like the result you can add darker veins.

And, there you go! It’s ready! Well, once everything has dried. ;) I have added this painting – among others – to my Etsy shop as a print. You can order it as a mini-print or send it as a postcard. Pop in!

