Watercolour painting class – Relax!
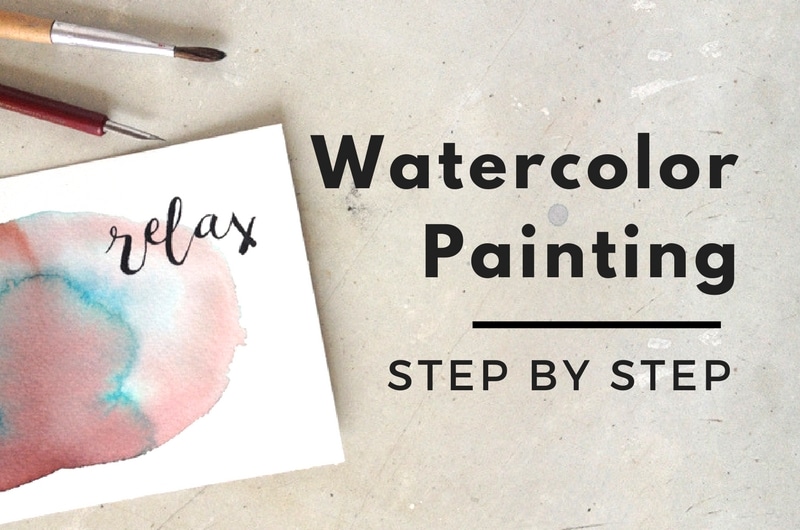
A watercolour splash is just like green tea: it hasn’t got negative qualities. It takes very short time to make it, they are all unique and it requiers absolutely no talent to have a beautiful result. I have used this technique in my downloadable calendars but as it was so satisfying I thought I’d share my experiences with you, so you can start “splashing” right away :)
The text “realx” is specifically meant for me – these days I tend to forget that I need me-time – so just replace it with whatever you like.
So, here are some step-by-step instructions on how to create a watercolour splash card:
What you need:
- watercolour paper (make it as thick as you can, we’ll use plenty of water. I use an A6 sized Canson block with 300 g/m2 paper)
- adhesive tape (I didn’t have this as my watercolour block is glued on 4 sides)
- watercolours or aniline-paint
- a middle sized brush
- a saucer or a scrap of paper as a palette to mix paint on
- water
- pen and ink
- pencil and eraser
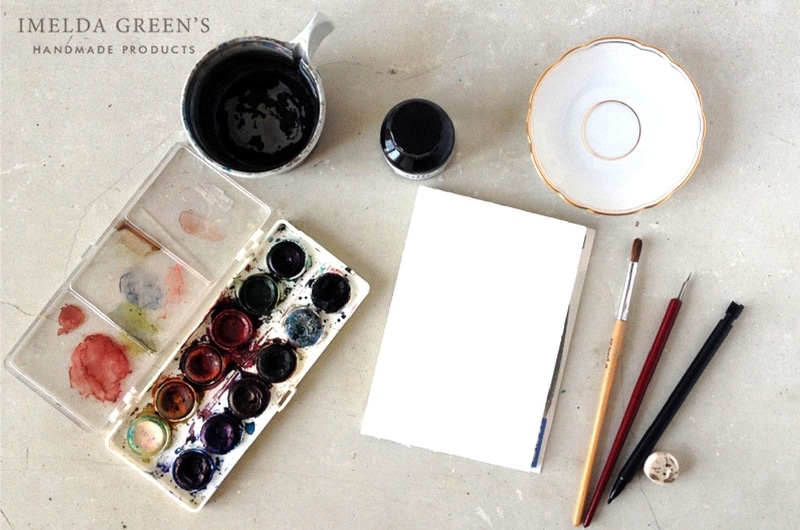
Step 0 – getting ready
Stick your paper onto an art board or folder with adhesive tape like this. As I’ve said before, when using much water the paper can curl up during the process of drying. You can prevent this from happening by sticking the paper down on all sides, only releasing it when the paper is completely dry.
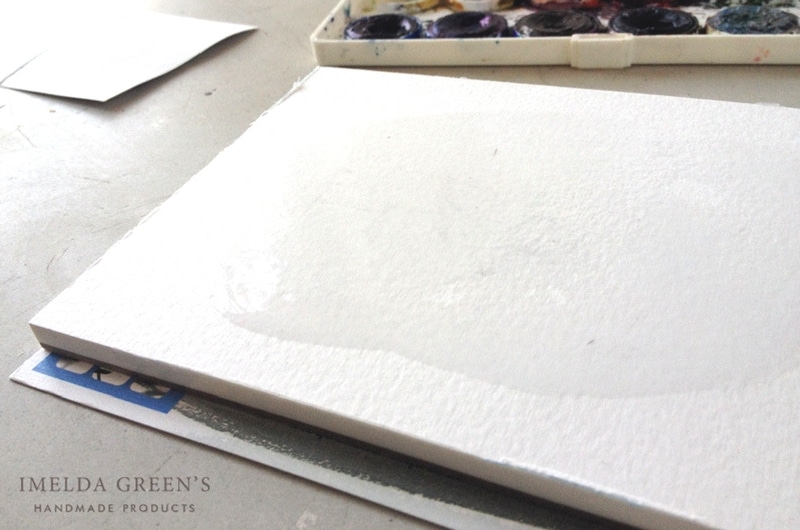
Step 1 – the shape of your splash
Paint a splash on your paper using clear water. Your paper might suck it all up; if this happens, repeat the process until water remains on the surface of your paper
Step 2 – apply the colours
Mix 2-3 different colours of your choice on your palette, then apply them at the edge of your water-splash. You can apply different colours close to each other but you don’t need to mix them: as soon as the pigments reach the water, they’ll start to move and eventuelly mix without your help. There aren’t many things as beautiful as this actually. :)
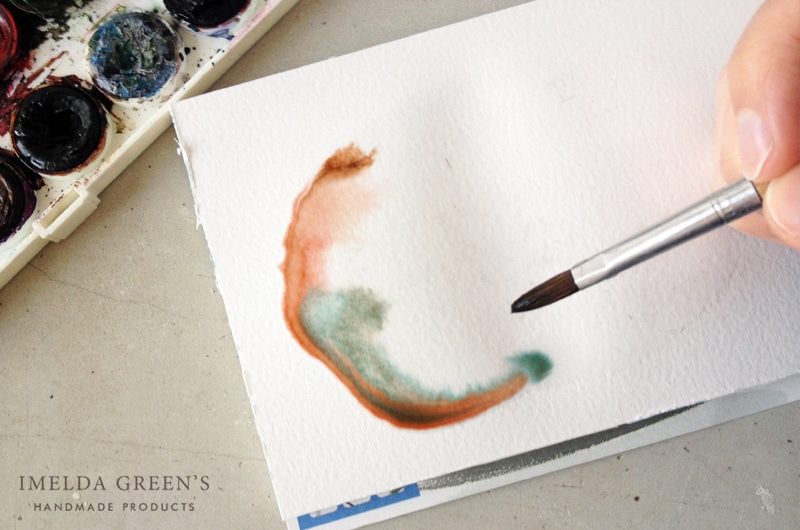
Step 3 – time to mix
You can lift your artboard on which the paper is stuck and tilt it left and right, this way you can have a little control over how the colours mix together. Don’t worry, they won’t leave the original splash-shape as the pigments are only capable of moving in the water.
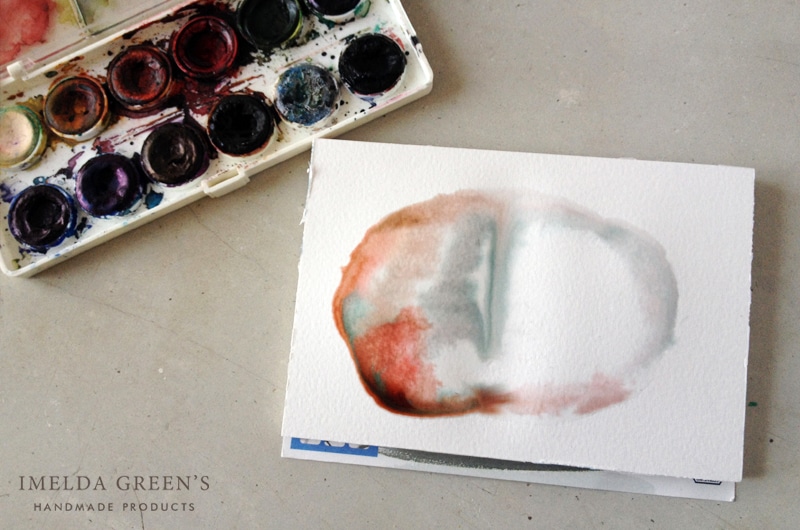
Step 4 – some more water
Once your painting has dried a little bit, take your brush and splash a little more clear water on your piece. This will make the paint move again, creating a more interesting effect.
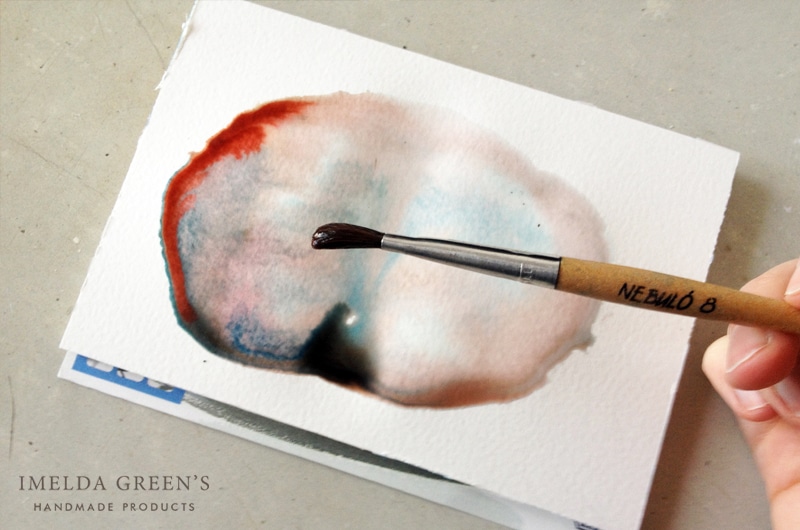
Step 5 – wait…
We have reached the most boring part of this tutorial. By now you have plenty of water on your paper which needs to dry – and on top of all you can’t use a hairdryer to quicken the process as the wind will alter your composition – actually you can expect that anyway: even though you fixed your paper with adhesive tape it will still get a little wavy and the water (along with the pigments) will settle in the valleys so there is not much point in trying to control the composition. This may result in some swearing on your part, but you can look at it from another angle: you get out of your comfort zone, and decide not to control what’s happening on the paper, for once.
So, all in all, it takes a while for this piece to dry. Even placed on the radiator it took 45 minutes in my case.
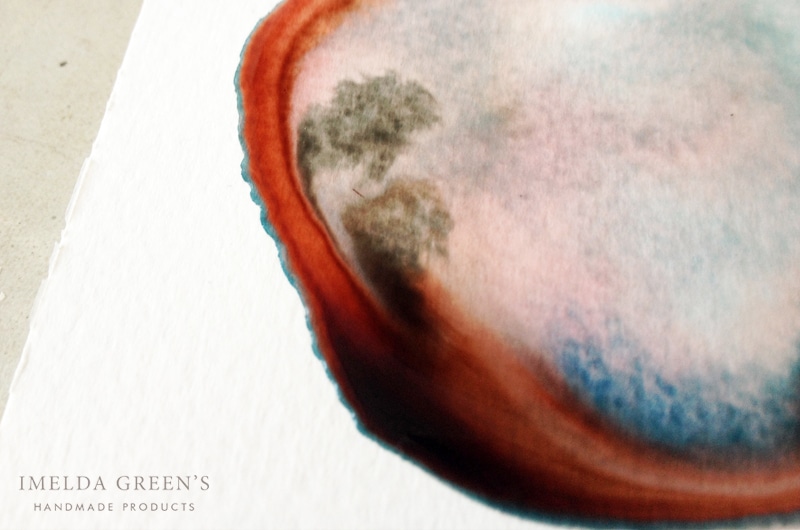
Step 6 – time to write
Once your splash is completely dry you can start painting letters. Calligraphy is something I cannot do without pre-drawing the letters so I picked up my pencil and eraser to write the text “realx” before going over it in ink. Take good care when you erase your guidelines after applying ink, unless the piece is completely dry it can ruin your entire work.
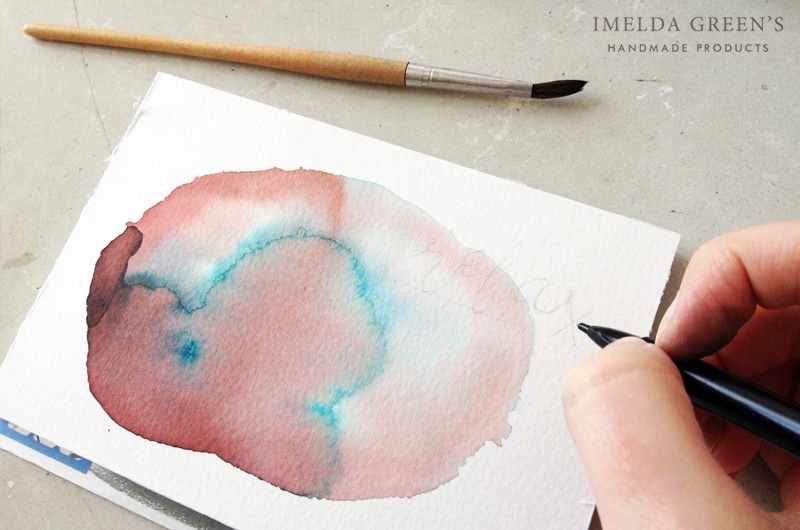
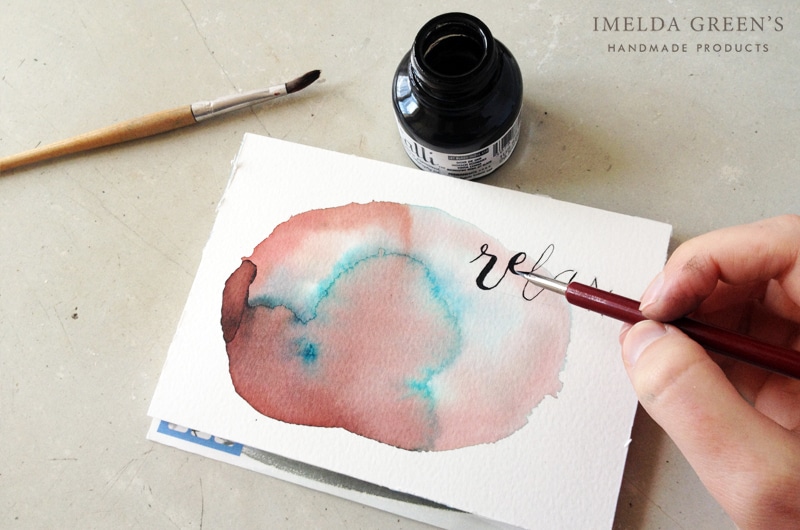
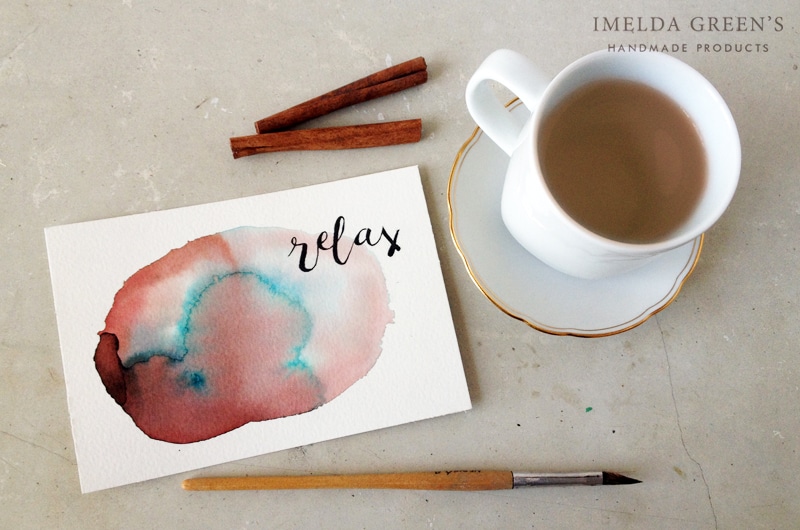
And you are ready!
If you know how to edit your artworks digitally, then there’s an entire new universe opening up to you: there are billions of things you can do with a scanned watercolour splash. But – as you can see – even without this kind of knowledge you can make beautiful stuff that looks finished. I hope I got you into painting and you will also grab your brushes :)
Share your finished pieces in the comments below!
Please support this blog by pinning the image below!


Comments (5)
Rachael
January 23, 2017 at 2:19 pm
Beautiful and simple! Thanks for sharing this great tutorial :)
Imelda
January 24, 2017 at 8:02 am
Thank you, Rachael!
M E Fuller
January 23, 2017 at 2:53 pm
Nice!
June Comeau
January 23, 2017 at 7:54 pm
Well, well Imelda, you’ve got me wanting to step away from my desk and wanting to paint.
Thank You so much for sharing your creativity seeds!!
Imelda
January 24, 2017 at 8:02 am
Yepp, June, I hope you do it!!! :)